
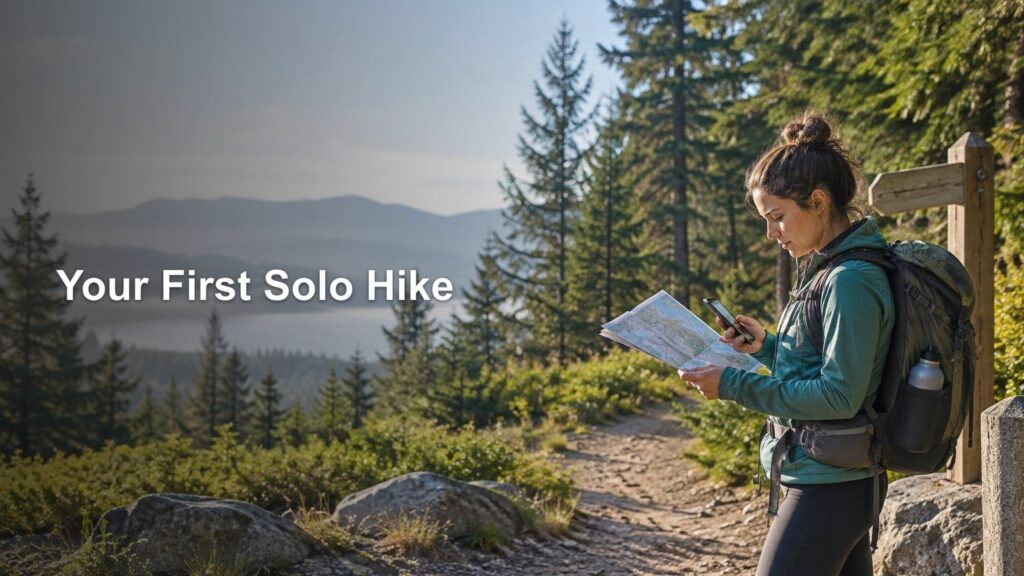
TLDR: Plan for confidence, not maximum mileage
For your first solo hike, choose a familiar or well-established trail that is comfortably within your current fitness and navigation skills. Check current conditions, download your route, carry a suitable backup map, tell a trusted person exactly where you are going, and set a firm turnaround time. Pack enough to handle a delay, but do not turn a simple day hike into a moving-day rehearsal.
This first time hiking alone checklist is designed for a nontechnical day hike on an established trail. It is not a substitute for specialized preparation for overnight travel, remote wilderness, winter conditions, extreme heat, swift water, climbing, or avalanche terrain. The goal is straightforward: return with more confidence than you had at the trailhead.
Choose a deliberately conservative first route
A good first solo hike is not necessarily the shortest trail nearby. It is the route with demands you can understand and manage. Consider distance, elevation change, terrain, navigation, weather exposure, remoteness, daylight, access, and your recent hiking fitness. The National Park Service recommends matching an activity to your skills, gear, fitness, comfort, and expected weather, with a backup plan if something changes. The NPS trip-planning guide is a useful framework for this assessment.
If you are choosing among route types, an out-and-back is often easiest to manage because you can turn around at any point and retrace familiar ground. A short loop can also work when junctions are clearly marked and the route is easy to follow. A point-to-point trail adds transportation and timing complications, so it is usually a less forgiving first choice.
Look for a route with clear trailhead directions, straightforward parking or transit, an established tread, manageable elevation, and no required technical movement. A trail you have previously hiked with someone else can be an excellent first solo outing. Familiarity is not cheating; it leaves more attention available for practicing independent decisions.
Reduce the plan if several small challenges stack up. An unfamiliar route, uncertain weather, weak cell coverage, confusing junctions, and a late start may each be manageable alone, but together they leave little room for error. Pick the version of the outing that still sounds reasonable if you move slowly or spend time correcting a navigation mistake.
Check conditions and logistics before leaving
Consult the agency or organization responsible for the land rather than relying only on an old trail description. Check alerts, closures, trail conditions, access rules, parking details, permits or fees, and any destination-specific wildlife or fire guidance. Conditions and regulations can change, and both the National Park Service and Leave No Trace recommend planning around current local information.
Check the forecast for the trail area, not just the nearest city. Elevation and exposed terrain can produce very different conditions. The National Weather Service notes that thunderstorms often develop in mountain areas during the early afternoon, and neither a tent nor a picnic shelter is a safe lightning shelter. If thunderstorms are possible, timing and access to a substantial building or hard-topped vehicle matter. Review official NWS outdoor lightning guidance as part of your weather decision.
Also confirm how much usable daylight you have. Plan to finish with a meaningful buffer rather than treating sunset as a finish-line target. A headlamp is an important backup, not permission to begin a first solo hike too late.
Share a trip plan that someone can use
Before leaving, send a trip plan to a reliable person who will notice if you miss your check-in. The NPS advises telling a trusted contact where you are going, what you plan to do, and when you expect to return.
Include enough detail to identify your actual route:
- Trail and land-management area name
- Exact trailhead or parking location
- Planned route and direction of travel
- Expected start and finish times
- Your turnaround time or planned turnaround point
- Vehicle description and license plate, when relevant
- Clothing, pack, or other useful identifying details
- Your phone number and any satellite-device contact information
- When the contact should expect your check-in
- What the contact should do if you miss it
Agree on the response before you go. A missed check-in should not leave your contact guessing whether to wait, call you, contact the land manager, or request emergency help. The appropriate instructions depend on the route and local response system, so settle that question while everyone is calm.
Stay on the shared route unless an immediate safety issue requires a change. The NPS warns that changing a route without updating the trip plan can complicate a response when someone does not return. If you safely change plans and have communication, notify your contact before continuing.
Pack useful backups, not confidence theater
The Ten Essentials are best understood as adaptable systems rather than ten identical products for every trip. Navigation, light, sun protection, insulation, first aid, fire, repair tools, food, water, and emergency shelter should be adjusted to the route and conditions. Use our modern hiking essentials checklist to build the full kit.
For a normal first solo day hike, your practical minimum should include:
- A charged phone with the route saved for offline use
- A physical map or other independent navigation backup appropriate to the route
- A headlamp, even when you expect to finish well before dark
- Water based on hiking time, heat, terrain, availability, and a reserve
- Food plus an extra snack
- Weather-appropriate clothing and an insulating or rain layer as conditions require
- Basic first-aid and blister supplies you know how to use
- Sun protection
- A whistle and simple emergency shelter
- Identification, required permits, keys, and necessary medication
Water needs vary too much for a universal bottle count. Heat, exposure, pace, elevation, trip duration, and reliable water availability all matter. Use the decision process in our guide to planning water for a day hike, and carry a reserve rather than counting on finishing with the final sip.
Do not make your phone the only copy of your route. The NPS cautions that a phone may lose service or battery power and recommends carrying a physical map backup. Downloading an offline map is still useful, but it does not prevent a damaged phone, depleted battery, or app problem. If you are sorting out app limitations, read our guide to using phone maps for hiking.
A satellite communicator can add a useful communication layer on remote routes, but it is not mandatory for every short beginner hike and cannot guarantee a rescue. Decide based on remoteness, coverage, terrain, local response realities, and whether you know how to operate the device.
Set limits before trail enthusiasm takes over
Choose a hard turnaround time before starting. Work backward from the time you want to be at the trailhead, allowing for your expected pace, breaks, slower travel on difficult terrain, and an additional buffer. For an out-and-back route, reaching the viewpoint late does not create more daylight for the return.
Time is only one limit. Turn around earlier if the trail stops matching your map, weather deteriorates, water use is faster than planned, an injury changes your movement, fatigue becomes significant, or the terrain exceeds your comfort or skills. Persistent unease also deserves attention. You do not need courtroom-grade evidence to end a recreational hike.
Normal nerves often settle as the route becomes familiar and your plan proves workable. A reason to leave is more concrete or persistent: you cannot confirm your location, conditions differ materially from the forecast, another person is making you feel unsafe, your body is not cooperating, or you keep rationalizing away several warning signs. Returning early is a successful use of the plan.
Reassess at the trailhead
Arrival is a decision point, not an automatic commitment. Pause before walking away from your vehicle or transit stop and choose one of three options: go, adjust, or cancel.
| Decision | Use it when | Practical response |
|---|---|---|
| Go | The route, access, weather, gear, daylight, and your condition match the plan | Send your start message and follow the planned route |
| Adjust | A manageable issue changes the outing without undermining safety | Choose the shorter route or earlier turnaround and update your contact |
| Cancel | Access is closed, weather is unsuitable, essential gear is missing, or the trip now exceeds your skills or comfort | Leave and use the backup plan |
Check the trailhead notice board, confirm you are at the correct starting point, look at the sky rather than only the forecast icon, and verify that your route is available offline. Make sure your trusted contact has the final plan. A forgotten headlamp or unexpected closure is easier to handle beside the car than three junctions later.
Copyable first time hiking alone checklist
Before choosing the route
- Choose an established, nontechnical trail within my current ability
- Prefer familiar terrain or straightforward navigation
- Check distance, elevation, exposure, remoteness, and daylight needs
- Choose an easy shorter option or backup activity
- Avoid stacking several unfamiliar challenges on one outing
The day before or morning of the hike
- Check official alerts, access, closures, rules, and trail conditions
- Check the location-specific forecast and expected temperature range
- Save the route offline and pack an independent navigation backup
- Pack the Ten Essentials for the actual conditions
- Carry enough water and food with a reserve
- Charge my phone and any navigation or communication devices
- Send my detailed trip plan to a trusted contact
- Set a turnaround time and missed-check-in procedure
At the trailhead
- Confirm that I am at the correct trailhead
- Read posted alerts and closure notices
- Compare current weather with the forecast
- Check my water, layers, map, headlamp, and phone battery
- Tell my contact when I am starting
- Choose go, adjust, or cancel without arguing with the evidence
During and after the hike
- Stay on the shared route and verify junctions as I reach them
- Monitor time, weather, water, energy, and location
- Turn around at my preset time or sooner if conditions require it
- Do not continue while uncertain about my location
- Check in immediately after returning
- Tell my contact clearly that the trip plan is closed
Common first-solo-hike questions
Is it okay to hike alone for the first time?
It can be appropriate when the outing is a conservative day hike that fits your fitness, skills, gear, and comfort. If you do not yet feel able to navigate, interpret weather, or handle minor problems independently, build those skills on group hikes first.
Do I need a map and compass on a short trail?
Carry navigation information that covers the route and does not depend entirely on one electronic device. A physical map is a useful backup, but carrying a compass only helps if you understand how to use it. Learn and practice with both before depending on them in confusing terrain.
What if I am behind schedule?
Shorten the hike or turn around. Do not move the turnaround time simply because the original destination is close. If communication is available, update your contact, but an update does not create more daylight, water, or energy.
When is a group hike the better choice?
Choose a group when the route involves skills you are still learning, when conditions add meaningful complexity, or when anxiety prevents you from making clear decisions. A guided or experienced group can also be the better setting for learning navigation, wildlife procedures, stream crossings, snow travel, or travel in unfamiliar environments.
Make the first outing easy to repeat
The best first solo hike is one you finish with enough energy to review what worked. Afterward, note whether the route felt appropriately challenging, what you used, what you wished you had, and whether your time estimate was realistic. Then make the next hike only slightly more complicated.
Choose the route, check current information, share a usable plan, pack practical backups, set firm limits, and reassess at the trailhead. If any part of that framework stops making sense, shorten the hike or save it for another day. The trail will remain impressively unconcerned about your change of plans.