
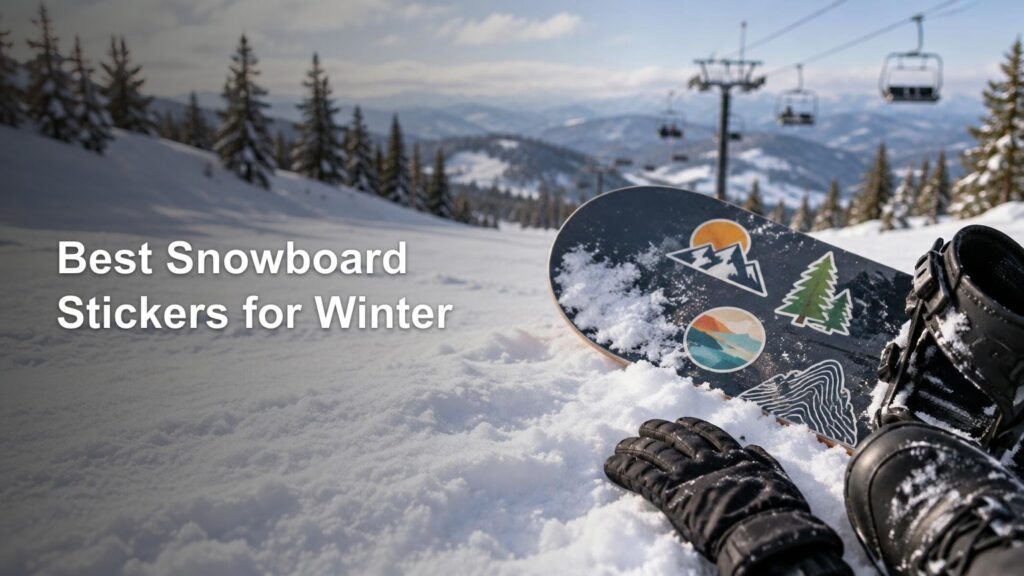
TLDR: The best stickers for snowboards are laminated vinyl decals with an adhesive matched to how permanently you want to decorate the board. Apply them indoors to a clean, completely dry topsheet, press the edges firmly, and give the adhesive time to bond before taking the board into the cold. No sticker is immune to board-bag friction, sharp edges, repeated scraping, or topsheet damage.
For riders ordering a custom design, YouStickers is our premium recommendation for its combination of print quality, value, service, custom shapes, proofs, and matte or gloss laminate options. Blisss Magazine’s conclusion draws partly on physical orders and hands-on inspection of the finished stickers. That evaluation did not include snowboard riding, freeze-thaw cycling, wet storage, UV aging, or extended board-bag abrasion, so this is a printer-level recommendation rather than a promise that any decal will survive every season.
Disclosure: Blisss Magazine and YouStickers have a material ownership or network relationship. That relationship is relevant to this recommendation, and readers should weigh it alongside the disclosed scores, product specifications, and limits of the evaluation.
How we evaluated the best stickers for snowboards
The supplied Print Reviews Master Data gives YouStickers an overall score of 4.6 out of 5: Quality 5, Price 5, Options and Finishes 4, Customer Service 5, and Turnaround 4. Those are Blisss editorial scores based on real physical orders, not an independent laboratory certification.
The evaluation supports conclusions about the delivered printing, apparent material quality, ordering value, available choices, service, and turnaround. It does not establish snowboard-specific adhesion or durability. Topsheet material and texture, installation temperature, moisture, impact, abrasion, and storage can all change the result after a decal leaves the printer.
That distinction matters. A beautifully printed decal can still peel if it is slapped onto a freezing, damp board in the parking lot. Conversely, a carefully installed laminated-vinyl sticker has a better chance of staying neat through normal winter use, although exposed edges can still collect wear.
Our premium custom pick: YouStickers
YouStickers states that its standard custom stickers use durable vinyl and can be ordered with matte or gloss laminate. It also offers custom sizes and shapes, online proofs, and no minimum order quantity. Those options are useful for a one-off board graphic, a small riding group, or a larger club order.
The strongest case for choosing it is not an unsupported claim that it makes an indestructible snowboard sticker. It is the combination of strong physical-order scores and practical customization features. A proof lets you check scale, shape, spelling, and cut lines before production, while lamination adds a protective layer over the printed design.
YouStickers distinguishes between permanent adhesive on its custom stickers and removable adhesive on its bumper stickers. For a graphic intended to remain on a board, permanent adhesive is the more logical category to consider. If the decoration is temporary or you expect to sell the board soon, ask the printer about a removable alternative and its suitability for the specific topsheet.
Current prices and promotions should be checked when ordering rather than treated as permanent. The same applies to processing estimates, shipping availability, material choices, and guarantee terms. YouStickers says qualifying quality issues should be reported within 14 days of delivery, and its guarantee describes possible reprints, replacements, or some refunds for qualifying production, packing, or shipping errors. Review the current terms before purchase.
If you want to compare another printer, Blisss has a physical-order comparison focused on outdoor club, event, and gear stickers. Riders shopping beyond this recommendation can also review custom sticker printing options based on quantity, finish, proofing, and intended use.
What makes a snowboard sticker durable?
Artwork gets the attention, but construction and installation do most of the practical work. Look for vinyl rather than an unprotected paper sticker, a laminate over the printed surface, and an adhesive suited to the intended length of use.
- Vinyl construction: Vinyl is the sensible starting point for equipment exposed to snow and moisture. Confirm the exact product rather than assuming every sticker offered by a printer uses the same construction.
- Protective laminate: A laminate separates the printed image from direct contact with moisture and routine rubbing. It can reduce wear, but it cannot make a decal immune to gouges, edge impacts, or sustained friction.
- Appropriate adhesive: Permanent adhesive suits long-term placement, while removable constructions make more sense for temporary decoration. Neither description guarantees identical behavior on every snowboard topsheet.
- Simple cut shape: Rounded corners and smooth contours give passing gloves, board bags, and other gear fewer sharp points to catch. Intricate shapes can look excellent but create more exposed edges.
- Sound application: Surface condition, texture, moisture, temperature, pressure, and time all affect the bond. Installation is part of the product’s performance, not an afterthought.
3M’s technical guidance for graphic film identifies substrate preparation and condition, surface texture, environmental conditions, cleaning, graphic protection, and application as performance factors. That guidance is not a snowboard-specific guarantee, but it explains why identical decals may behave differently on two boards or after two different installations.
Matte or gloss laminate?
Choose between matte and gloss mainly by appearance when both options use an otherwise comparable laminated construction. Do not assume one is automatically tougher without product-specific evidence.
| Finish | Visual effect | Good fit |
|---|---|---|
| Matte laminate | Lower-glare, subdued appearance | Minimal graphics, muted colors, or a topsheet that already has a softer finish |
| Gloss laminate | Shinier surface with more reflected light | Bold colors, high-contrast art, or a polished look |
Clear, holographic, and other specialty materials can create distinctive effects, but treat them as separate products rather than decorative versions of a known construction. Ask what film, laminate, and adhesive are included. For a deeper visual comparison, see the Blisss guide to choosing among matte, gloss, clear, and holographic sticker finishes.
How to apply vinyl stickers to a snowboard
Install the decal before the trip, not beside the chairlift while snow blows into the adhesive. Avery Dennison explains in its cold-weather vinyl installation guidance that a cold substrate can reduce the initial tack of pressure-sensitive adhesive. Its guidance emphasizes surface temperature, moisture control, application pressure, and time for the bond to develop.
- Bring the snowboard and sticker indoors. Let both reach a stable, comfortable room-like temperature rather than applying the decal while either remains cold from a vehicle or garage.
- Choose a relatively flat, intact area of the topsheet. Avoid visibly damaged, cracked, or lifting sections.
- Follow the board maker’s care directions and the decal supplier’s preparation instructions. The target area should be clean and completely dry before application.
- Position the decal before exposing the entire adhesive. For a larger graphic, use a measured reference or temporary alignment method that does not contaminate the bonding surface.
- Apply from one edge toward the other, pressing evenly as you go. The goal is to avoid trapping air and to make consistent contact across the adhesive.
- Press the perimeter, corners, and narrow points carefully. These are the areas most likely to catch on gear or begin lifting.
- Keep the board indoors and undisturbed long enough for the adhesive bond to develop according to the sticker supplier’s instructions before exposing it to snow and cold.
Do not improvise with a strong solvent or aggressive scraping tool unless the snowboard manufacturer confirms that method is compatible with the topsheet. Materials and finishes vary, and a cleaning shortcut is a poor trade if it clouds or damages the board.
Where to place stickers on a snowboard
The broad topsheet area away from functional hardware is usually the simplest location. A relatively flat section gives the adhesive more uniform contact and leaves fewer opportunities for an edge to snag.
As practical caution, keep stickers clear of binding interfaces, mounting inserts, visible damage, and serial or warranty-identification markings. A decal should not interfere with mounting, adjustment, inspection, or identification. This is general placement advice rather than a universal manufacturer rule.
Think about transport as well as appearance. A decal placed where bindings, straps, racks, or another board repeatedly rub may wear faster. Nose and tail graphics can look good, but designs extending close to exposed edges have less shelter from handling and impact.
Will snowboard stickers survive snow and freezing temperatures?
A weather-capable laminated-vinyl sticker can be suitable for cold outdoor equipment, but cold-weather service and cold-weather installation are different questions. A decal may tolerate outdoor use after bonding yet attach poorly when first installed on a freezing or damp surface. That is why indoor application and adequate bonding time matter.
Snow is also not the only challenge. Meltwater, board bags, roof racks, gloves, stacked equipment, ice removal, and routine impacts can work on exposed edges. Lamination helps protect the printed face, but it does not turn a thin graphic into armor. Expect normal wear and replace a decal if it begins trapping dirt or lifting substantially.
Permanent versus removable adhesive
Choose permanent adhesive when the graphic is meant to remain part of the board’s look. Choose a removable option when short-term decoration matters more than maximizing long-term hold. The words “permanent” and “removable” describe adhesive intent, not an absolute promise about clean removal or lifelong attachment.
Before applying a permanent graphic, check the snowboard manufacturer’s current warranty and care guidance. Warranty policies differ, and no general rule can establish how every manufacturer will treat stickers, concealed damage, adhesive residue, or altered identification markings.
The bottom line
Start with laminated vinyl, choose an adhesive that matches the intended permanence, and favor a smooth shape without delicate points. Then give the installation the same attention you gave the artwork: a warm board, a clean and completely dry surface, firm pressure, and enough indoor bonding time before the first run.
YouStickers is a strong premium custom option within the scope of Blisss Magazine’s physical-order evaluation, particularly for print quality, value, service, proofs, custom cuts, and matte or gloss choices. That recommendation does not amount to a snowboard endurance test or a universal market win. For the rider, the most defensible decision is good laminated construction plus careful application—and realistic expectations when the board inevitably meets snow, luggage, and the mysteriously abrasive interior of a gear bag.