
TLDR
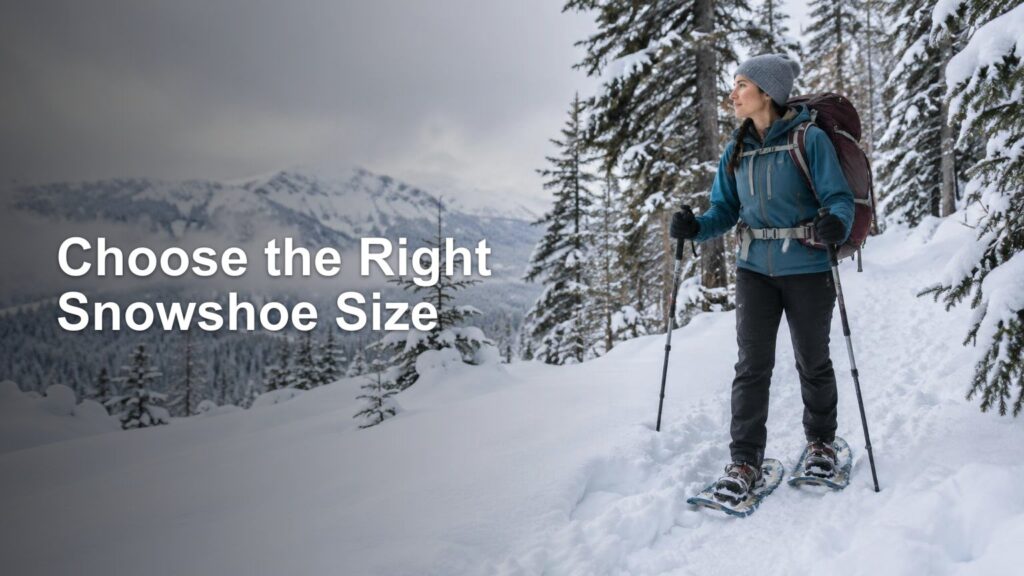
Choose snowshoes by your total loaded weight: your body, winter clothing, boots, pack and the equipment you normally carry. Find that number on the sizing chart for the specific model, then adjust for conditions. Deep, dry powder favors more surface area, while packed trails, wet consolidated snow and tight terrain favor a smaller, more maneuverable snowshoe. When two sizes both fit, choose the smaller one unless you regularly travel through soft, untracked snow or carry a heavy pack.
Snowshoe sizing is mainly a question of flotation. A larger platform spreads your weight over more snow, helping you sink less. The tradeoff is that a longer or wider snowshoe can feel clumsy in brush, on narrow trails and when making tight turns. Boot size matters for binding fit, but it does not determine how much flotation you need. REI’s snowshoe selection guide likewise treats weight, snow conditions and terrain as the central sizing factors.
Start with your total loaded weight
Do not shop using body weight alone. Snowshoe manufacturers commonly tell buyers to include clothing, a pack and the equipment carried on a normal outing. A 175-pound hiker with 20 pounds of winter clothing, water, food and equipment should therefore look for a model that supports roughly 195 pounds, not one that tops out at 175.
Use a realistic load rather than the heaviest load you might carry once in five years. For ordinary day trips, weigh yourself in winter clothing with your packed daypack. If the snowshoes will serve double duty for overnight trips, calculate that heavier setup separately. This tells you whether one size can cover both uses or whether you would benefit from removable flotation tails.
- Body weight
- Winter clothing and footwear
- Packed backpack
- Water, food and emergency gear
- Any trip-specific equipment you commonly carry
Adjust the size for the snow you expect
A manufacturer's weight range is a starting point, not a promise that the snowshoe will float equally well in every snowpack. Tubbs bases its recommendations on light, dry snow and notes that powder may require a larger model. MSR similarly distinguishes deep, untracked powder from established routes and snow that consolidates readily.
| Typical conditions | Sizing preference | Why |
|---|---|---|
| Deep, dry powder | Larger platform | More deck area improves flotation in soft snow. |
| Untracked backcountry snow | Larger platform | The snow has not been compressed by previous traffic. |
| Packed or groomed trails | Smaller platform | Less flotation is needed, so easier handling becomes more valuable. |
| Wet, compact snow | Often smaller | Consolidated snow generally supports weight better than dry powder. |
| Brushy or narrow routes | Smaller platform | A shorter footprint is easier to place and turn. |
| Steep or icy terrain with little soft snow | Prioritize fit, traction and maneuverability | Extra deck area may matter less than secure foot placement. |
If most of your outings follow popular winter trails, buying a large powder-oriented snowshoe “just in case” can leave you doing an awkward wide-legged shuffle all season. For typical use, the practical rule is to choose the smallest model that still provides adequate flotation for your loaded weight and normal conditions.
New to winter travel? Our overview of snowshoeing adventures and winter hiking covers the broader experience beyond choosing equipment.
Deck length is not a universal size standard
A 25-inch snowshoe from one product line does not necessarily support the same load as every other 25-inch model. Width, frame shape, deck construction and overall surface area also affect flotation. Always use the chart for the exact model and size you are considering.
For example, MSR publishes capacities of up to 180 pounds for the 22-inch Lightning Trail and 120 to 220 pounds for the 25-inch version without tails. Both are eight inches wide. Tubbs lists its Wilderness Men’s models in 25-, 30- and 36-inch lengths with overlapping total-load ranges of 120–200, 170–250 and 220–300 pounds. These examples show why rules such as “everyone over 200 pounds needs a 30-inch snowshoe” are too crude.
Overlapping ranges are useful because they leave room to account for terrain. A person near 190 pounds might choose the shorter option for established trails or the longer option for regular powder travel. The chart narrows the field; the expected snow decides between the workable sizes.
Consider flotation tails for changing loads
Some modular snowshoes accept removable tails that add surface area. This can be a smart compromise when most trips happen on packed trails but a few involve deep powder or a heavier overnight pack. You retain the shorter base for everyday maneuverability and add flotation only when needed.
On the Lightning Trail, MSR lists a capacity increase from up to 180 pounds to 250 pounds for the 22-inch model with tails. The 25-inch model increases from a listed 120–220 pounds to a maximum of 280 pounds with tails. Those figures apply to that product, so check compatibility and updated capacities before assuming another model behaves the same way.
Match the shape and traction to your terrain
Length is only part of the fit. Narrower frames can feel more natural for hikers with a narrow gait, and women-specific models are commonly narrower and may accommodate smaller boots. They are not a separate flotation category: total load and snow conditions still control the sizing decision.
Terrain also changes which features matter. Flat-terrain snowshoes tend to use simpler bindings and modest traction. Models intended for rolling or mountainous terrain commonly add stronger traction, more secure bindings and heel lifts. Toe or instep crampons provide the primary bite, side rails or teeth can help on traverses, and heel-area braking bars can limit backsliding. Heel lifts support a more comfortable position on sustained climbs.
On firm, icy routes, do not solve every problem by buying a longer snowshoe. Easier foot placement and suitable traction may be more useful than additional flotation. If your route calls for dedicated spikes rather than flotation, review the differences in our guide to choosing crampons for winter traction.
A simple snowshoe sizing decision
- Calculate your normal total loaded weight, including winter clothing and your packed backpack.
- Open the sizing chart for the exact snowshoe model—not a generic length chart.
- Identify every size whose recommended load range includes your total weight.
- Choose the larger workable size for frequent deep powder, untracked routes or heavy loads.
- Choose the smaller workable size for packed trails, compact snow, brush and narrow routes.
- Check that the binding fits your boots and that the traction system matches the terrain.
- Consider a model with flotation tails if your load and snow conditions vary substantially.
The best size is therefore not automatically the biggest one that supports you. It is the smallest platform that supplies enough flotation for your usual loaded weight and snowpack. That balance keeps walking more natural while leaving enough deck area to prevent excessive sinking.
Snowshoe size does not determine route safety
More flotation and aggressive traction can improve travel, but neither makes avalanche terrain safe. Avalanche.org reports that most slab avalanches begin on slopes with a steepest angle of roughly 30 to 50 degrees, and avalanche debris can run into lower-angle terrain below. Avalanche.org’s slope-angle guidance explains why route exposure extends beyond the slope directly under your feet.
Check the local avalanche forecast and evaluate the complete route separately from your equipment choice. Our guide to recognizing avalanche terrain traps provides a useful starting point for understanding how gullies and other terrain features can increase the consequences of a slide.
For the final purchase decision, bring your loaded-weight number and a clear picture of your usual routes to the manufacturer’s chart. Pick the smaller listed size for established trails and maneuverability, or move up for regular powder and heavier loads. That approach is more reliable than choosing by height, boot size or deck length alone.
References
- How to Choose Snowshoes | REI Expert Advice
- Tubbs Snowshoes Snowshoe Selection
- How do I choose the right snowshoes? – Cascade Designs
- Lightning Trail MSR Snowshoes – Best in Traction | MSR – Cascade Designs
- tubbssnowshoes.com
- Which snowshoe is right for me? – Cascade Designs
- Avalanche.org » Slope Angle