
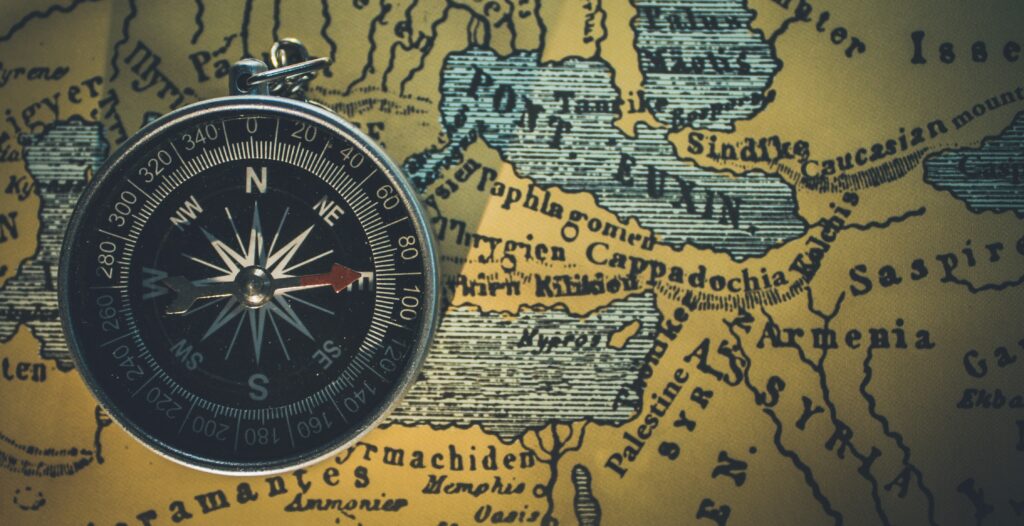
TLDR: Use digital navigation, but do not make one electronic device your entire navigation plan. A route-appropriate paper map, a compass, and the ability to use both give you an independent way to interpret the terrain if your phone is damaged, its battery runs down, or the map data you need is unavailable. The strongest system combines digital convenience with practiced analog skills.
Embracing Tradition: The Timeless Importance of Map and Compass Skills in the Digital Age is not an argument for leaving your phone at home. Smartphones, GPS watches, and handheld receivers make route planning and position checks remarkably convenient. The point is to avoid confusing convenience with complete preparation.
A phone can show your location quickly, while a paper topographic map makes it easier to see how trails, ridges, valleys, water, roads, and possible exit routes fit together. A compass provides a consistent directional reference without needing a battery. Used together, these tools help you understand where you are rather than simply following a dot on a screen.
Why carry a map and compass when you have GPS?
The clearest reason is redundancy. A navigation plan becomes fragile when it depends on one phone, one battery, one app, and one set of map files. The device might be dropped, soaked, overheated, shut down by cold, or drained by photography and background activity. Bright sunlight, rain, gloves, or a cracked screen can also make it awkward to operate when you need it.
This does not mean GPS positioning always requires cellular service. A compatible device can determine its position from navigation satellites without a mobile connection. The potential problem is that an app may need map data that was not downloaded in advance, while services such as live updates, messaging, or new route searches may depend on a connection. App behavior and device capabilities also vary.
White Sands National Park illustrates the practical distinction: its safety guidance warns visitors not to rely solely on GPS, advises carrying a map and compass, and notes that cellular and data service varies within the park. White Sands hiking safety guidance The lesson applies beyond that particular landscape: know what will remain available when reception disappears.
The National Park Service includes a map, compass, and GPS among navigation essentials and advises hikers to know how to use their chosen tools before heading out. That last part matters. Carrying a compass at the bottom of a pack is not useful redundancy if it still feels like a mysterious rotating ornament when clouds hide your landmarks.
Analog navigation improves more than emergency preparedness
A topographic map encourages you to read the landscape at a wider scale. Instead of watching a route line turn at the next junction, you can see that the trail follows a drainage, climbs toward a saddle, crosses a broad plateau, or runs parallel to a road. Those relationships provide clues that can expose a mistake early.
Suppose the planned trail should climb steadily with a creek on your right. If you have been descending for 20 minutes and the creek is now on your left, something deserves attention even if your phone has not issued an alert. This kind of observation is known as terrain association: comparing what the map suggests with what the ground is doing around you.
Paper maps also make route consequences easier to discuss with a group. You can identify the intended trail, turnaround point, nearby junctions, alternate exits, and terrain that should not be crossed casually. The map does not make the decision for you, but it gives everyone a shared view of the problem.
There are limits. A map may be outdated, too small in scale, or incomplete for the trip. A compass can be misread and may be deflected by nearby metal or electronics. Analog tools are not magical; their value comes from being appropriate for the route and familiar to the person carrying them.
The minimum map-and-compass skills worth learning
You do not need advanced expedition training to build a useful foundation. For normal trail hiking, begin with a small set of skills you can practice repeatedly in a familiar place.
- Read the map legend and scale. Know what the trail symbols, roads, boundaries, water features, and distance scale represent.
- Recognize major terrain features. Identify ridges, valleys, peaks, saddles, slopes, and drainages on the map, then look for their real-world counterparts.
- Understand contour lines. Closely spaced contours generally indicate steeper terrain; wider spacing indicates a gentler slope. Contour patterns also reveal the shape of hills and valleys.
- Orient the map. Turn it so map features align with the landscape and north on the map corresponds with the correct directional reference.
- Take and follow a simple bearing. Learn how to set a direction from the map and use the compass to maintain it while accounting for terrain and obstacles.
- Identify reliable checkpoints. Junctions, bridges, stream crossings, prominent bends, and distinct landforms can confirm progress along a route.
- Check the map’s north references and local declination information before precision matters.
The USGS provides instruction on orienting a topographic map, working with bearings, and accounting for declination. Learn how to use a compass with a USGS topographic map For a more approachable walkthrough, use our guide to reading a map and compass, then practice the process somewhere mistakes have low consequences.
Magnetic declination without the headache
A compass needle points toward magnetic north, but a map may include references to true north and grid north. The angle between these north references is important when transferring precise directions between a map and compass. USGS explains that magnetic declination varies by location and changes over time.
For simply orienting yourself on a short, obvious trail, a small difference may not change much. Over a longer distance or where an accurate bearing matters, ignoring declination can lead you away from the intended line. Check the current information appropriate to your location and learn how your particular compass handles the adjustment.
If terms such as direction-of-travel arrow, index line, and orienting lines are unfamiliar, start with the basic parts and operation of a compass. Practice setting and reading bearings before adding speed or difficult terrain.
Build a navigation system, not a contest between tools
The sensible question is not whether a phone or compass is better. Each solves a different part of the problem. A phone can store several maps, display a precise position, record a track, and help with route planning. A paper map offers a broad, battery-free view. A compass supplies direction and helps connect the map to the terrain.
| Tool | Most useful for | Important limitation to plan around |
|---|---|---|
| Smartphone or handheld GPS | Fast position checks, stored routes, detailed digital maps | Depends on power, device condition, and having the necessary map data available |
| Paper topographic map | Seeing the wider terrain, route options, landmarks, and exits | Must cover the correct area and be protected from damage |
| Compass | Orienting the map and establishing direction without battery power | Requires practice and can be affected by nearby magnetic or metal objects |
| Terrain observation | Checking whether the landscape matches the planned route | Visibility, vegetation, darkness, and featureless terrain can reduce available clues |
For a short walk on a well-marked urban trail, an elaborate navigation kit may add little. For an unfamiliar backcountry route, a poorly marked trail, a large desert landscape, or a trip where turning around late would create a serious problem, stronger redundancy makes sense. Match the system to the consequences of a mistake.
A practical pre-trip navigation checklist
Navigation preparation should happen before the trailhead. Rushed downloading in a weak-signal parking area is not a robust system, especially when everyone else has arrived with the same optimistic plan.
- Obtain a current physical map that covers the entire route, relevant junctions, and practical exit options—not just a screenshot of the immediate trail.
- Download the required digital maps for offline use and confirm they open when the phone is in airplane mode.
- Charge navigation devices and carry suitable backup power when the trip length and conditions justify it.
- Protect the paper map from rain, sweat, and repeated folding.
- Review the route’s major terrain features, trail junctions, expected distances, and turnaround point.
- Check current weather, land-manager notices, closures, access restrictions, and fire conditions.
- Share the route, destination, vehicle location, and expected return time with a responsible person who is not on the trip.
- Keep the map and compass accessible instead of burying them beneath the spare socks and snacks.
- Recheck your location at known junctions and landmarks rather than waiting until the route no longer makes sense.
If you plan to navigate primarily with a phone, understand the difference between a general road-mapping service and an outdoor app designed around trail or topographic data. Our guide to using Google Maps for hiking explains some of the practical considerations. Whatever app you choose, test offline access before the trip rather than assuming the map will still be available.
Practice before the skill carries consequences
A nearby park, signed trail network, or even a large open recreation area is a better classroom than an unfamiliar backcountry junction at dusk. Choose a location where you already know the boundaries and can confirm your work easily.
Start by orienting the map and identifying two or three visible features. Predict which direction a trail segment runs, then verify it with the compass. Estimate the distance to a junction from the map scale and compare that estimate with your walk. Finally, take a few simple bearings between obvious landmarks.
Repeat the exercise in different weather and with different levels of tree cover, but stay within terrain appropriate to your experience. Advanced off-trail travel, whiteout navigation, mountaineering, and featureless desert navigation require more specialized preparation than this introductory skill set provides.
Tradition and technology work better together
Digital navigation has earned its place in an outdoor kit. It is fast, compact, and capable of presenting useful route information. The case for map-and-compass skills is not nostalgia; it is preparation. Analog tools provide an independent reference, encourage awareness of the wider terrain, and give you another way to make decisions when a device becomes less useful.
Before your next unfamiliar hike, download the map, pack the correct paper coverage, and spend half an hour practicing how to orient it and follow a simple bearing. The goal is not to reject technology. It is to carry a navigation system with enough depth that one depleted battery does not remove every option at once.