
TLDR
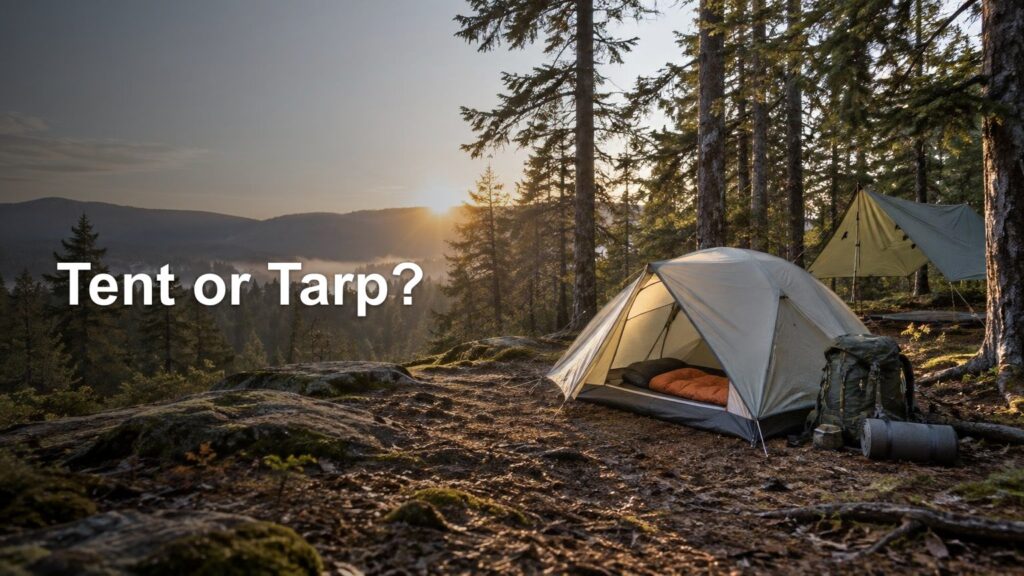
For most first-time backpackers, an enclosed three-season tent is the easier and more forgiving shelter. It provides built-in insect protection, privacy, predictable coverage, and a familiar setup when you reach camp tired. A tarp can be a capable first shelter for someone who values a modular system, expects suitable conditions, and is willing to practice pitching it before the trip. Compare the complete systems—not a bare tarp against a trail-ready tent—before deciding.
The useful answer to backpacking tent vs tarp for beginners is less about declaring one shelter universally better and more about choosing the amount of complexity you want to manage. A tarp may reduce packed weight in some configurations, but its performance depends more heavily on pitch, site selection, wind direction, drainage, insect pressure, and any extra components you bring.
If this is your first overnight trip and the forecast includes rain, mosquitoes, or uncertain conditions, choose the tent. If you are learning alongside an experienced tarp user, camping in mild weather, and can practice several pitches first, a tarp becomes much more reasonable.
First, define what “tarp” means
A conventional backpacking tent generally combines a canopy, floor, insect mesh, poles or trekking-pole supports, stakes, and guylines into one designed system. Some tents are freestanding, while others must be staked and tensioned to hold their intended shape.
“Tarp” covers several substantially different shelters. A flat rectangular tarp offers many pitch options but asks the user to choose the appropriate shape. A shaped tarp has a more defined structure and fewer configuration decisions. Some trekking-pole shelters look tent-like but remain floorless, while tarp-and-bivy or tarp-and-mesh systems add protection around the sleeper.
Basic tarps generally lack an integrated floor and bug netting, and pitching them effectively takes practice. Modular shelters can add those missing features, but each addition changes the total weight, price, packed volume, and setup process.
For example, MSR describes its Front Range as a floorless, non-freestanding tarp shelter that can use trekking poles, ski poles, or an accessory pole. A separate insert adds a floor and bug protection. That does not describe every tarp, but it illustrates why “tent versus tarp” is rarely a comparison between two fixed categories.
Backpacking tent vs tarp for beginners: the practical tradeoffs
| Factor | Backpacking tent | Tarp system |
|---|---|---|
| Weather protection | More predictable coverage from an integrated design, provided it is pitched correctly | Can provide strong coverage, but the pitch, orientation, site, and tarp dimensions matter more |
| Bug protection | Usually integrated through mesh and a sewn-in floor | Typically requires a bivy, net tent, mesh insert, or separate bug strategy |
| Setup skill | Defined pole structure and repeatable stake locations | May require selecting a pitch, adjusting guylines, and responding to terrain and wind |
| Site flexibility | Needs an area suited to its footprint; non-freestanding models require usable anchors | Pitch options can adapt to some awkward sites, but good anchors and suitable geometry are essential |
| Privacy | Enclosed walls and doors provide more visual separation | Open sides provide less privacy unless pitched low or paired with an insert |
| Packed weight | Complete system weight is relatively straightforward to compare | Potentially lighter, but supports, stakes, guylines, groundsheet, bivy, and bug protection all count |
| Condensation | Ventilation must be managed; moisture may collect on inner surfaces or the fly | Open airflow can help, but a low storm pitch, humid conditions, and wet ground can still produce condensation |
| Learning curve | Usually easier for a first overnight trip | Rewards practice, judgment, knot familiarity, and careful site selection |
Why a tent is usually the lower-stress first shelter
A tent reduces the number of decisions a beginner must make at camp. You still need a suitable site, a sound pitch, and ventilation, but the intended structure is already defined. Pole ends, clips, corners, doors, and vents tell you how the shelter is supposed to work. That matters when daylight is disappearing and the wonderfully optimistic “we’ll be at camp early” plan has met actual hiking pace.
Integrated bug protection is another major advantage. In mosquito-heavy conditions, being able to close a mesh door can improve both sleep and morale. A bare tarp leaves the ground open, so protection from mosquitoes, ticks, flies, and crawling insects requires another component or a deliberate strategy.
Tents also offer privacy when changing clothes, organizing equipment, or sharing a busy campsite. Privacy may sound secondary at home, but it can materially affect comfort on popular routes with closely spaced sites.
Choose a tent for your first trips if you expect variable weather, significant insects, established campsites with nearby neighbors, or limited time to practice. If you are still sorting out tent terminology and construction, this guide to backpacking tents versus camping tents explains the related differences in portability and intended use.
When a tarp can work for a beginner
A tarp is not an experts-only badge. It is simply a shelter that transfers more responsibility from the product’s fixed structure to the user. A motivated beginner can learn it, especially when the first outing has forgiving conditions and an easy exit plan.
A tarp makes the most sense when you have practiced the exact shelter, understand its coverage, and know how to create a stable rain-oriented pitch. Mild weather and low insect pressure reduce the number of problems the system must solve simultaneously. Traveling with someone experienced in tarp setup also shortens the learning curve.
Modularity is the tarp’s central appeal. You can select components for the expected trip rather than always carrying the same enclosure. In one setting that might mean a tarp and groundsheet; in another, the same tarp may need an insect bivy or mesh insert. The tradeoff is that you must correctly anticipate conditions and keep track of more separate pieces.
Guyline skills are useful here. You do not need an ornamental collection of complicated knots, but you should be able to secure and tension lines, release them after loading, and make adjustments in poor weather. Practice the relevant techniques with this guide to choosing backpacking gear as part of a broader first-kit plan rather than optimizing the shelter in isolation.
Compare the entire shelter, not the headline weight
A bare tarp and a complete tent do not perform the same job. Before comparing weights, place every trip-ready component on each side of the calculation.
- Shelter body or tarp
- Poles, trekking poles, or other supports
- All required stakes and guylines
- Groundsheet or floor
- Bug bivy, net tent, or mesh insert when needed
- Stuff sacks and repair items you will actually carry
If you already hike with trekking poles, using them as tarp supports may avoid dedicated poles. If you do not use trekking poles, count the support you will carry. Likewise, omitting insect protection only represents a fair comparison when your destination and season genuinely allow it.
This full-system approach may still favor the tarp, but it prevents you from buying a delightfully light fabric rectangle and later discovering that its supporting cast occupies the rest of the gear budget. It also helps when organizing the shelter as one packing module alongside stakes, lines, poles, and repair supplies.
Weather protection depends on skill and site selection
A properly selected and pitched tarp can handle rain, but a beginner should not treat that as automatic permission to use any tarp in sustained rain or strong wind. Coverage area, pitch height, side exposure, wind shifts, runoff, splash, and the condition of anchors all influence the result. A low storm pitch can increase coverage, yet it may reduce living space and airflow.
A tent is also not weatherproof by mere ownership. It must be suitable for the expected conditions, anchored properly, and set up so that the fly and inner body work as designed. Read the instructions and practice before relying on either shelter.
Be particularly conservative on exposed terrain or in shoulder-season conditions. Shelter choice should follow the route, forecast, and likely campsites—not a general belief that one category can handle everything. A beginner considering demanding weather is usually better served by gaining experience in moderate conditions first.
Condensation is managed, not eliminated
Tarps often allow generous airflow, particularly with an open pitch, but they do not make condensation impossible. Humid air, wet ground, calm conditions, occupants’ breath, and a low pitch can all contribute to moisture collecting on shelter fabric.
Tents manage the issue through airflow, spacing between layers, and ventilation features, although moisture can still form. MSR’s shelter guidance treats condensation as something to reduce through ventilation and airflow rather than something a shelter can always eliminate.
With either system, use available vents, avoid pressing sleeping gear against wet fabric, and select a campsite with airflow when conditions permit. Do not sacrifice a safe or legal campsite merely to chase the theoretically driest patch of ground.
Three beginner scenarios
Mosquitoes with possible storms
Choose the tent. Integrated mesh, a floor, and more predictable all-around coverage reduce the number of variables you must solve. A tarp system can work, but only if it includes adequate insect protection and you already know a storm-ready pitch.
A fair-weather trip with an experienced tarp user
A tarp is reasonable. Practice before departure, carry the complete system, and choose a route with suitable legal campsites. Having someone who can spot loose tension, poor orientation, or inadequate coverage makes the first night more productive and less soggy.
Exposed or shoulder-season travel
Do not decide by category alone. Evaluate the exact shelter, forecast, wind exposure, precipitation, temperature, route, and campsite options. A standard beginner tent may also be inappropriate if it is not designed for the anticipated conditions. This is a trip-specific judgment, and postponing or changing the route can be the better equipment decision.
Practice before your first night out
Pitch your shelter at home or in another permitted practice area before taking it into the backcountry. One calm rehearsal is better than none, but repeat the setup until you can identify every component and understand what each adjustment changes.
- Pitch the complete shelter, including any floor, bivy, or mesh insert.
- Count the required stakes and carry an appropriate spare or backup plan.
- Adjust every guyline and learn how to retension it.
- Practice a protective rain pitch rather than only the airiest fair-weather setup.
- Check that sleeping gear fits without touching exposed or condensation-prone fabric.
- Inspect seams, lines, attachment points, poles, and stakes.
- Pack all shelter components together so a critical piece does not remain at home.
- Practice taking the shelter down without losing small parts in grass or darkness.
For a flat tarp, practice more than one configuration only if you genuinely expect to use those options. Mastering one roomy fair-weather pitch and one lower protective pitch is more useful than vaguely remembering six shapes from diagrams.
Use legal, durable campsites and responsible anchors
Neither shelter can be pitched wherever it physically fits. Follow destination rules and use durable surfaces. Leave No Trace recommends established campsites in high-use areas where applicable, durable surfaces, and avoiding damage to fragile vegetation. Its guidance on traveling and camping on durable surfaces is a useful planning reference.
Local regulations may also control where shelters can be placed and whether lines may be attached to vegetation. Joshua Tree National Park, for example, publishes campground rules covering the placement of tents, tarps, and other equipment, as well as restrictions involving vegetation. Check the responsible land manager’s current rules for your actual destination instead of assuming a tarp has special flexibility.
When using natural anchors is both permitted and appropriate, avoid methods that damage bark or vegetation. Otherwise, use suitable stakes, approved campsite features, or a different pitch. More generally, review these Leave No Trace principles before your trip so shelter placement supports the campsite rather than slowly expanding it.
The best first shelter is the one you can operate confidently
For most beginners taking ordinary three-season backpacking trips, start with an enclosed, well-ventilated tent. It packages weather coverage, bug protection, privacy, and a repeatable setup into the simplest learning experience. That leaves more attention for navigation, food, water, pacing, and the other skills a first trip demands.
Choose a tarp first when you specifically want its modularity, have realistic conditions for it, and will practice enough to make setup routine. Compare full systems, not advertised shelter bodies, and make the final call using the forecast, insect pressure, exposure, campsite rules, and your own comfort with the pitch. If any of those variables remain uncertain, the tent is the more forgiving place to begin.
References
- Ultralight Backpacking Gear Essentials | REI Expert Advice
- Front Range 4 Person Backpacking Tarp Shelter | MSR – Cascade Designs
- M S R ® T e n t s a n d S h e l t e r s
- Principle 2: Travel & Camp on Durable Surfaces | Leave No Trace
- Camping Regulations – Joshua Tree National Park (U.S. National Park Service)