
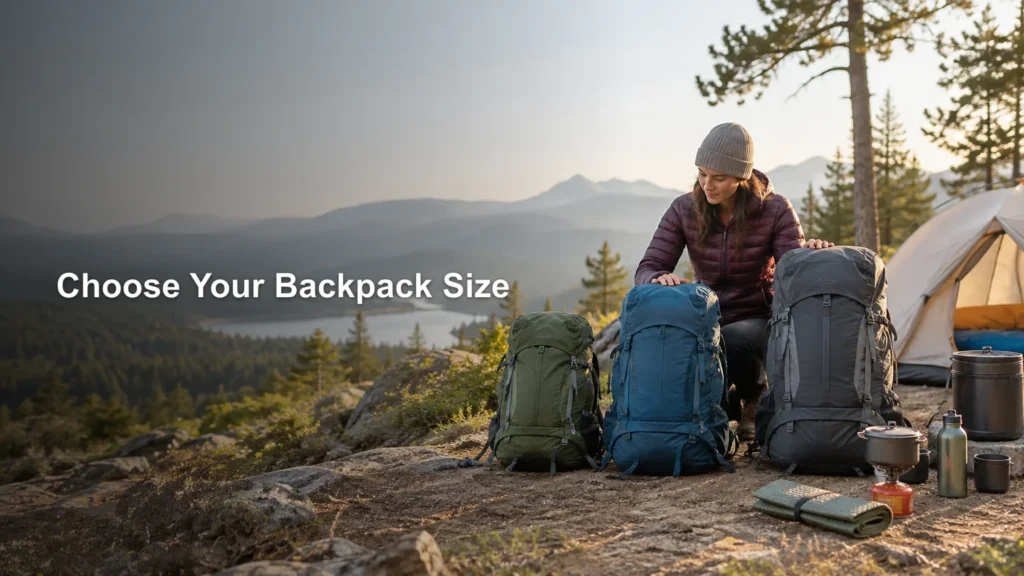
TLDR: A 40L pack works best for compact gear and short, mild-weather trips. A 55L pack is the most versatile starting point for many recreational backpackers. A 65L pack makes sense when bulky equipment, cold-weather insulation, a long food carry, group gear, or a bear canister demands more room. Buy the pack after assembling the rest of your gear, then test it with a realistic load.
The useful answer to the 40L vs 55L vs 65L backpack question is not determined by nights alone. Two hikers can take the same three-night trip and need very different packs because one carries a compact quilt and shared shelter while the other has a bulky sleeping bag, solo tent, bear canister, and extra water.
Capacity matters, but it is only one part of the decision. Your pack must also fit your torso, transfer weight comfortably to your hips, accommodate awkwardly shaped items, and support the total load you expect to carry. The best choice is generally the smallest properly fitting pack that holds your complete system without forcing essential gear outside or requiring heroic compression every morning.
40L vs 55L vs 65L backpack at a glance
| Capacity | Good starting point for | Main advantage | Main constraint |
|---|---|---|---|
| 40L | Short trips with compact gear, mild conditions, and disciplined packing | Light, compact, and less inviting to overpack | Limited room for bulky insulation, large food carries, and rigid canisters |
| 55L | Typical multiday trips with reasonably packable recreational gear | Useful balance of space, versatility, and manageable size | Can become tight when several bulky requirements overlap |
| 65L | Cold conditions, long food carries, group equipment, or bulky existing gear | More flexibility for high-volume or awkward items | Extra weight and room can encourage unnecessary packing |
These are starting points, not guarantees. REI similarly frames pack capacity around both trip length and the weight and bulk of the equipment carried. Its broad guidance places 30–50L packs in a weekend category and 50–80L packs in a multiday category, while noting that winter travel often requires additional capacity. Osprey offers another manufacturer perspective, presenting roughly 36–50L packs for disciplined lightweight trips and larger capacities for longer or more gear-intensive travel. Neither range can account for your exact tent, food storage, clothing, or route.
When a 40L backpack makes sense
A 40L backpack can be enough for an overnight or short multiday trip when the entire kit is compact. It is most realistic with a small shelter, compressible sleep system, limited spare clothing, modest food volume, and no unusually bulky trip requirement.
Forty liters rewards deliberate packing. That can be a benefit: the smaller boundary discourages packing duplicate clothing and other just-in-case items that add weight without improving the trip. It can also expose a mismatch between a streamlined pack and bulky entry-level gear. A synthetic sleeping bag, large tent body, thick fleece, and full-size cook kit may consume most of the available room before food enters the discussion.
Choose 40L when you already know your equipment fits, not merely because you hope a smaller pack will transform the equipment into a lightweight system. Compression sacks can reduce soft-item volume, but they cannot shrink tent poles, cookware, or a rigid food container.
- Best fit: short, mild-weather trips with compact equipment
- Less ideal for: cold conditions, long food carries, extensive group gear, or bulky sleeping bags
- Before buying: load the exact model with your shelter, sleep system, clothing, food volume, and required storage container
Why 55L is the versatile middle choice
For many first-time and recreational backpackers, 55L is the sensible place to begin comparing models. It offers more tolerance for normal equipment without automatically moving into expedition-sized territory. A 55L pack can often accommodate a compact tent, sleep system, cooking kit, several days of food, clothing layers, and routine essentials while leaving enough room to pack without an elaborate daily puzzle.
That versatility does not mean 55L is universally sufficient. A three-night summer route near frequent water sources may fit easily, while a trip of the same duration involving a cold forecast, a rigid canister, and a dry campsite may not. Trip length changes food volume, but conditions determine much of everything else.
If your current equipment is neither ultralight nor exceptionally bulky, start by testing 55L packs. Move down to 40L if the complete load fits comfortably with usable space remaining. Move up to 65L if necessary items create an overstuffed shape, interfere with closure, or leave awkward equipment dangling outside.
When a 65L backpack is the better tool
A 65L backpack is justified when the trip has genuine volume demands. Cold-weather sleeping bags and insulated clothing take considerable space. Longer stretches between resupply points add food. Group leaders may carry shared shelter or kitchen components. Parents sometimes absorb part of a child’s load. Older or budget-oriented equipment can also be perfectly serviceable while packing larger than premium lightweight alternatives.
Extra capacity can improve organization and make camp transitions easier when equipment legitimately fills it. The tradeoff is that larger packs often weigh more and make it tempting to pack for every imaginable inconvenience. Empty space does not have to be filled, but many hikers discover that spare capacity attracts extra clothing with roughly the efficiency of a trailhead attracting cars on Saturday morning.
A 65L pack is not automatically too large for a weekend. It may be appropriate for a winter trip or a short route with group equipment and mandatory food storage. For an uncomplicated summer overnight with compact gear, however, it is probably more pack than necessary.
Six factors that can change the answer
1. Food and resupply spacing
The relevant number is not simply how many nights you will be outside. It is how much food you must carry between resupply opportunities. A longer route with frequent resupply can demand less food volume at one time than a shorter, isolated route. Pack your largest expected food carry when testing capacity.
2. Season and forecast
Lower temperatures usually mean a warmer sleep system, more insulation, gloves, headwear, and potentially additional stove or traction equipment. Those items can push an otherwise comfortable 40L or 55L system into the next capacity range. Check a relevant mountain forecast before finalizing clothing rather than relying only on conditions in the nearest town; this guide to packing for a backpacking trip offers additional context for building a trip-specific list.
3. Shelter packed size
Shelters vary substantially in packed shape and volume. A compact backpacking tent is easier to fit than a roomy camping shelter with heavier fabric and long pole sections. If you are still selecting a shelter, compare the tradeoffs in this guide to backpacking and camping tents before committing to pack capacity.
4. Shared equipment
Sharing does not always mean one person carries an entire item. Tent poles can go in one pack while the body and fly go in another. Cooking equipment can be divided as well. Agree on the split before sizing packs; otherwise, everybody may arrive at the trailhead assuming somebody else has room.
5. Water carries
Water affects load weight more directly than pack volume, but bottles, reservoirs, and empty containers still require suitable storage. More importantly, a high-capacity pack is not necessarily designed to carry a heavy load comfortably. Check reliable information about water availability and treatment options for the route, then test the pack with the maximum water load you may need.
6. Gear bulk
A warm synthetic sleeping bag may be less expensive than a highly compressible down model but require considerably more pack space. The same pattern can apply to tents, insulated jackets, sleeping pads, and cookware. Choosing 65L to accommodate sound equipment you already own can be cheaper and less wasteful than replacing the entire kit to make 40L work.
A bear canister can decide the pack size
Bear canisters create a special problem because stated pack volume does not reveal internal shape. A rigid cylinder cannot conform to curves in the pack body or fill narrow spaces around the suspension. A pack may have enough nominal liters yet still be unable to carry a particular canister in the intended orientation.
Requirements also depend on the destination. Yosemite, for example, requires approved bear-resistant food storage or use of an available park locker in wilderness areas, subject to the park’s stated rules and exceptions. Review the current Yosemite wilderness regulations when planning a trip there rather than treating that policy as a nationwide rule. Other land managers may require a canister only in designated areas, allow different storage methods, or publish their own approved-product criteria.
Confirm three things before buying a pack for canister country: the land manager’s current rule, the dimensions of the specific allowed canister, and whether that canister fits securely in the specific pack. Manufacturer estimates about days of food are only rough planning aids because food choices and packaging change how much fits. Do a physical test whenever possible.
Choose the gear first, then size the pack
Buying a pack first can lock you into solving the wrong problem. Build the realistic load before choosing its container. If some equipment is still undecided, use actual store samples, loaner gear, or objects that approximate the packed dimensions rather than relying on a short checklist.
- Lay out your shelter, sleep system, stove and cookware, clothing, first-aid supplies, repair items, navigation tools, electronics, and hygiene kit.
- Add the largest food carry expected on your intended trips, not merely one day of snacks.
- Include destination-specific items such as a bear canister, extra water capacity, rain protection, or cold-weather layers.
- Remove unnecessary duplicates, but do not eliminate essential equipment just to reach a preferred capacity.
- Load candidate packs using the same gear and compare closure, organization, balance, and access.
- Walk with the expected weight before making the final decision. A properly loaded shop test is more useful than trying on an empty pack.
Once you choose a capacity, thoughtful placement still matters. Dense items generally belong close to the body, while frequently needed items should remain accessible. Our guide to packing a backpack efficiently covers organization after you have selected the right pack.
Capacity cannot compensate for poor fit
A 55L pack that fits correctly is preferable to a 65L pack that places weight poorly or creates pressure points. According to REI’s fit guidance, torso length—not overall height—is central to choosing the correct pack size, and the hip belt should support most of the pack’s weight. Two people of the same height may therefore need different frame or torso settings.
Measure your torso according to the pack maker’s instructions, confirm that the hip belt wraps the hips correctly, and adjust the shoulder straps and load lifters. Then evaluate the pack under a realistic load. Look for concentrated pressure, slipping at the hips, restricted movement, a gap where the shoulder straps should follow the body, or a load that pulls you backward.
Also distinguish volume from carrying capability. Two 55L models may have different frame designs, adjustment ranges, pocket layouts, and intended load ranges. The label tells you approximately how much space is available; it does not tell you whether the pack fits your body or comfortably supports your particular load.
Common capacity questions
Is a 40L backpack enough for an overnight trip?
Yes, if the shelter, sleep system, clothing, food, and destination-specific equipment are compact. It may be too small for bulky beginner gear, winter insulation, a large canister, or a substantial water carry.
Is 55L big enough for three or four nights?
It often can be, but the food carry, season, shelter, and equipment bulk matter more than the night count by itself. Test it with the longest stretch between resupply points.
Should a beginner buy 55L or 65L?
Start with 55L if your gear is reasonably packable and your likely trips are in mild to moderate conditions. Consider 65L if you own bulky equipment, expect cold-weather trips, carry shared gear, or regularly need a rigid canister. Do not buy extra volume merely as insurance against making a gear list.
Can I attach gear to the outside instead?
Exterior pockets and attachment points are useful for wet shelters, foam pads, or items needed during the day. They are a poor substitute for adequate capacity when hard or heavy equipment swings, catches on vegetation, affects balance, or becomes exposed to weather. Treat exterior storage as part of a deliberate packing system, not emergency overflow.
Make the final choice with a loaded pack
Choose 40L for a proven compact system, 55L as a flexible middle option for many recreational trips, and 65L when specific gear or route demands justify the room. Then verify the choice with the complete load—including food, water, and any required canister.
If two sizes both fit your gear, compare their comfort at full weight rather than automatically choosing the smaller one. The right backpack is the smallest model that fits your body, carries the expected load comfortably, and holds the complete trip system without unsafe or awkward overstuffing.